How to Install & Replace Window Glass in Aluminum Sliding Window Frame
If you’ve ever looked closely at your aluminum sliding window and noticed cracks, fogging, or that frustrating draft sneaking in through the glass—don’t worry, you’re not alone. Many homeowners face this problem at some point. The good news is that replacing or installing new window glass in an aluminum sliding frame isn’t as intimidating as it sounds. With the right tools, a little patience, and a clear plan, you can achieve results that look as if a professional installer handled it. And as someone who has guided numerous renovation projects, I’ll walk you through every detail — not just the “how,” but also the “why” behind each step.

Why Aluminum Sliding Windows Are Worth the Effort
Before diving into the technical steps, it’s important to understand why aluminum sliding windows are such a staple in modern architecture. Aluminum frames are durable, sleek, and require very little maintenance compared to wooden ones. They resist corrosion, handle weather changes gracefully, and fit beautifully in both residential and commercial projects.
However, the glass itself remains the weakest component over time. It’s exposed to sunlight, temperature fluctuations, and mechanical stress (especially in sliding systems). So, replacing the glass becomes not only a matter of aesthetics but also safety and efficiency. A properly installed window glass improves insulation, reduces noise, and helps regulate indoor climate — something that directly impacts both comfort and energy bills.
Signs That Your Window Glass Needs Replacement
Let’s face it, most people delay window repairs until it’s too late. But catching the issue early saves time and money. Here are some telltale signs your aluminum sliding window glass may need to be replaced:
- Visible cracks or chips: Even small cracks can spread quickly due to temperature shifts.
- Condensation between panes: This indicates a seal failure in double-glazed units.
- Drafts or noise leaks: Air or sound entering means poor sealing or misalignment.
- Difficulty sliding: Broken glass or warped frames can affect smooth movement.
- Outdated or unsafe glass type: If your windows use non-tempered glass, it’s worth upgrading.
Once you recognize these signs, it’s best to plan the replacement before winter or the rainy season hits — trust me, working with cold aluminum frames during harsh weather is far from pleasant.
Tools and Materials You’ll Need
Before you start, gather all the tools and materials you’ll need. A well-prepared workspace not only saves time but also prevents accidental damage or injury. Here’s a checklist I always share with my clients:
- Replacement glass (cut precisely to fit the frame)
- Measuring tape
- Rubber gasket or glazing strip
- Silicone sealant (neutral cure type for aluminum)
- Utility knife or glass scraper
- Putty knife or flathead screwdriver
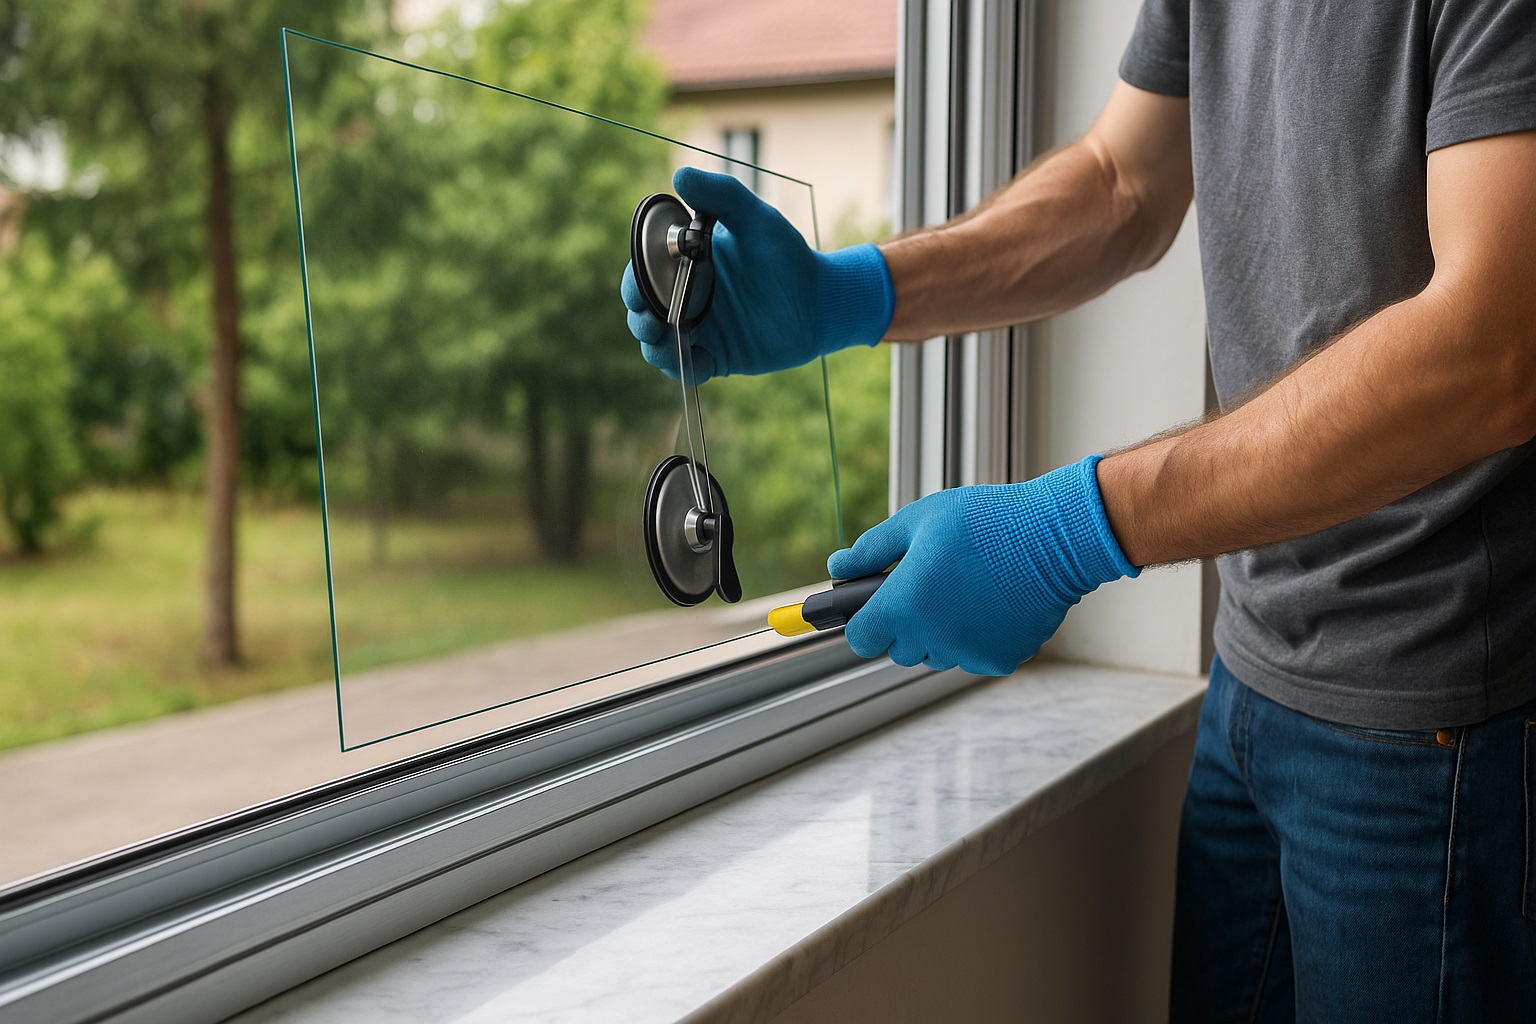
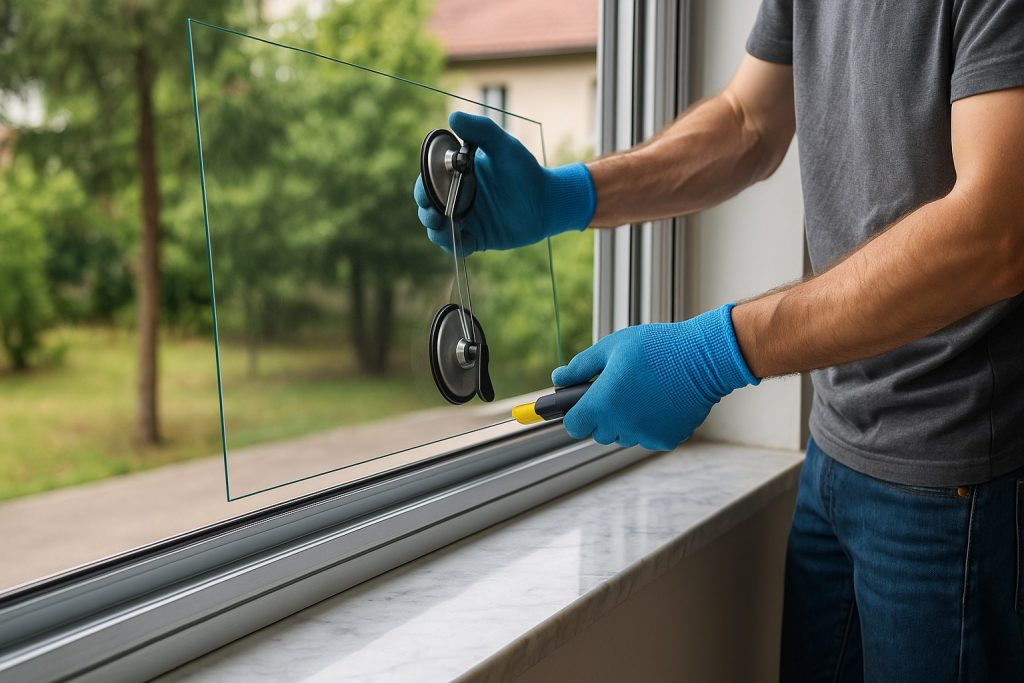
- Suction cups for safe glass handling
- Protective gloves and safety goggles
- Soft cloths and cleaning spray
Optional but helpful: a rubber mallet for gently tapping frame components into place and a heat gun if the old sealant is stubbornly stuck.
Step-by-Step: How to Replace Window Glass in Aluminum Sliding Frame
1. Remove the Sliding Panel
Start by carefully removing the sliding window panel from its track. Most aluminum frames allow you to lift the panel upward and pull the bottom out. If it feels tight, check for screws or security clips near the top rail. Place the panel flat on a soft, stable surface—preferably covered with a blanket or cardboard to protect the aluminum finish.
2. Detach the Rubber Gasket or Glazing Strip
Use your utility knife or flathead screwdriver to gently pry out the old glazing strip or gasket holding the glass in place. Be cautious; older gaskets can become brittle and may crack easily. If it’s still in decent shape, you might reuse it, but replacing it ensures a better seal and professional finish.
3. Remove the Old Glass
Once the gasket is removed, the glass should come out easily. If it’s broken, wear gloves and safety goggles to prevent injury. For stubborn or glued glass, apply gentle pressure using suction cups while carefully loosening edges with the putty knife. Dispose of broken glass safely — wrap it in thick paper or bubble wrap before discarding.
4. Clean the Frame
Now comes the step most people rush through — cleaning. Don’t skip this. Use a soft cloth and mild cleaner to remove old sealant, dust, and oxidation from the frame. If the grooves contain hardened debris, use your knife or a scraper to clean them out thoroughly. A clean frame ensures that the new glass fits snugly and seals properly.
5. Insert the New Glass Panel
Lay the new glass gently into the frame, ensuring it sits evenly across all corners. Double-check that the glass dimensions match the opening precisely — even a few millimeters off can cause rattling or air leaks. (I’ve seen many DIY repairs fail simply because the glass was slightly too tight or loose.)
Once positioned correctly, place the new rubber gasket or glazing strip back around the perimeter. Press it firmly with your fingers or use a blunt tool to push it evenly into the groove.
6. Apply Silicone Sealant
For additional sealing and insulation, run a thin bead of silicone sealant along the inner edge of the frame. Use a neutral-cure silicone suitable for aluminum to prevent corrosion. Smooth it out with your finger or a sealant tool for a neat finish. This step not only improves air-tightness but also prevents water ingress during heavy rain.
7. Reinstall the Sliding Panel
Once everything is sealed and set (give it 30–60 minutes to partially cure), lift the panel back into its track. Test its movement. It should slide smoothly without resistance or wobbling. If it feels tight, double-check that the gasket isn’t pinched anywhere along the edges.
Common Mistakes to Avoid
After years of observing both professional and DIY installations, I can confidently say that most problems come from small oversights. Here are a few common pitfalls to avoid:
- Skipping measurements: Always measure twice before ordering new glass. Don’t assume standard sizes will fit your window.
- Using acidic sealants: These can corrode aluminum frames over time.
- Forgetting to clean the frame: Residue and dust compromise the seal and cause uneven installation.
- Not checking the glass thickness: Sliding windows usually require specific thicknesses to slide properly in their tracks.
- Rushing curing time: Allow at least 24 hours for silicone to cure fully before washing or applying pressure.
Maintenance Tips After Installation
Now that your window glass is replaced and looking perfect, a few simple habits can help extend its lifespan and keep it functioning smoothly:
- Clean the glass and frame regularly using mild soap and water.
- Lubricate the sliding track every few months to prevent friction.
- Inspect the gasket once a year — if it hardens or cracks, replace it early.
- During seasonal changes, check for any movement or loosening in the frame.
Bearing in mind, aluminum expands slightly with heat. This is perfectly normal, but if the movement becomes noticeable, you may need to adjust the frame alignment slightly.
When to Call a Professional
Although most homeowners can handle glass replacement with patience, certain cases require professional attention. For example, if your sliding window uses double-glazed or laminated glass, the replacement process becomes trickier. The glass units are heavier, the sealing more delicate, and the risk of damaging the insulation layer is higher. Similarly, if your window is located on an upper floor, it’s best to prioritize safety and let professionals handle the job.
In my experience, combining professional installation with regular DIY maintenance creates the best long-term results — it balances cost, safety, and quality beautifully.
Energy Efficiency and Design Benefits
Replacing the glass isn’t just about fixing a crack. Modern glass options, such as low-emissivity (Low-E) coatings and double glazing, can dramatically improve your home’s energy efficiency. These glass types reflect heat in the summer and retain warmth in the winter, reducing the need for air conditioning and heating. Over time, this small change can translate into significant savings on energy bills.
Visually, clean new glass enhances natural light and can even affect the way colors appear in your interior design. As an architect, I’ve always emphasized how natural light interacts with materials — polished aluminum, textured fabric, or wooden flooring. The clarity of your window glass directly affects how your home feels throughout the day.
Final Thoughts
Replacing or installing glass in an aluminum sliding window frame might seem technical at first glance, but once you understand the logic behind each step, it becomes a rewarding task. You’re not just restoring functionality — you’re improving comfort, energy efficiency, and aesthetic harmony in your living space.
And honestly, there’s something deeply satisfying about looking at a perfectly fitted pane you installed yourself, knowing it’ll serve you for years to come.
If you found this guide helpful or tried replacing your own aluminum window glass, I’d love to hear about your experience. Share your thoughts or questions below — let’s keep the conversation going. Every home (and every window) has a story, and maybe yours will inspire the next one.


Leave a Reply
You must be logged in to post a comment.